A talking photo can turn a still portrait into a short spoken introduction, lesson, or announcement. Its strength is speed: one clear image and a brief script can communicate a message without filming a new performance. The result is most effective when the speech feels appropriate for the person and the image, and when the viewer understands the message on the first listen.
Imagine a teacher introducing a two-minute lesson. The still image shows her looking toward the camera against a calm background. The spoken line explains what students will learn and why it matters. Nothing complicated needs to happen visually. The portrait provides a human presence, while the voice carries the information.
Begin with the message, not the motion
Write the script before choosing effects. For a short introduction, aim for one idea and one next step. “Today we will learn how to identify the main claim in an article. By the end, you will be able to find it in a single paragraph.” This is clearer than a long greeting, a list of credentials, and several unrelated promises.
Read the script aloud. Spoken sentences need to be shorter than written ones. Replace jargon, break up long clauses, and remove words you would not naturally say. A 20-second audio clip should sound like someone talking to a person, not reading a brochure. Leave room for a pause after the key point.
Choose a portrait that supports speech
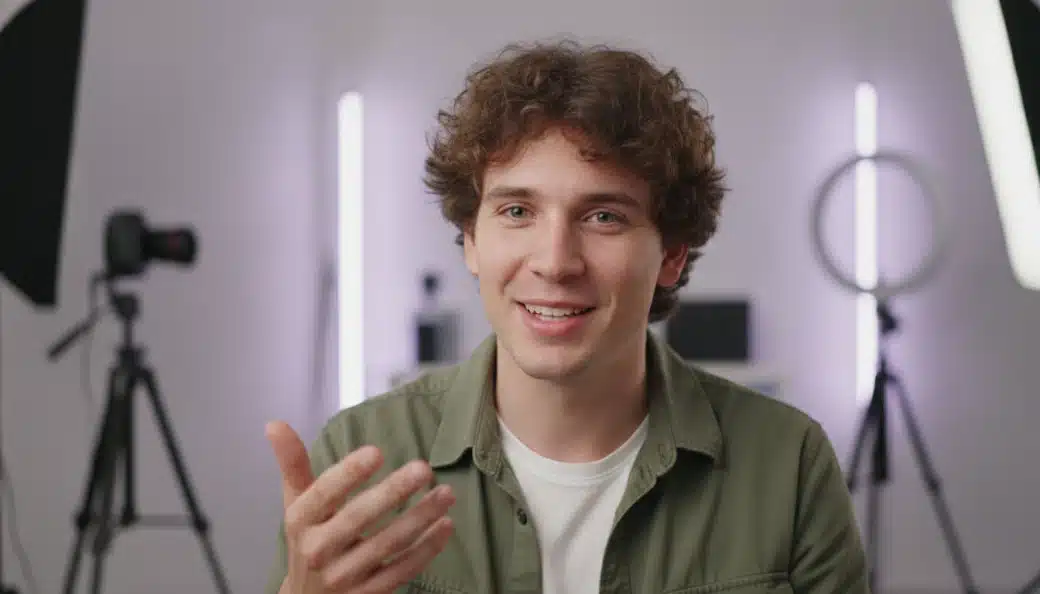
A sharp, front-facing photo with visible lips and eyes gives the animation a better starting point. Soft, even lighting makes the face readable. Avoid images where the mouth is covered by a hand, microphone, or strong shadow. A neutral or slight smile tends to work for many topics; an exaggerated expression may clash with a serious script.
Frame the head and shoulders with enough room for subtitles. On a vertical mobile video, place the face where it remains prominent after cropping. Check whether the background has high-contrast objects that could distract from the speaker. A clean portrait helps the viewer pay attention to the words.
Choose how the voice will be supplied
The AI talking photo page offers options to provide typed text or use an audio recording. Typed text is convenient for quick drafts. Recorded speech is useful when a particular voice, accent, or pacing matters. Choose the route that best matches the intended use, and always use a voice or recording you are entitled to use.
If you record audio, speak at a natural pace in a quiet room. Keep the microphone position steady and avoid background music in the source recording. The clearer the input, the easier it is to assess whether the mouth movement fits the words. If you use text-to-speech, listen to the pronunciation of names, numbers, and specialized terms before finalizing the video.
Make expression match the subject
A talking portrait does not need to move constantly. Small eye and facial movements can make the speaker feel present. Too much expression can distract from an instructional message or make a serious announcement feel oddly theatrical. Select a restrained presentation when the content is informational, and a warmer one when the message is a welcome or invitation.
Subtitles can improve comprehension in noisy environments and for viewers watching with sound off. Keep lines short, use strong contrast, and avoid covering the mouth. Check the text carefully against the spoken audio; automated captions may mishandle proper names or technical vocabulary.
Review the first ten seconds
Most viewers decide quickly whether to keep watching. Watch the opening with sound on, then with sound off. Is the speaker’s face clear? Does the first line tell viewers what they will get? Do captions appear at the right time? If the opening feels slow, shorten the greeting and move the useful information forward.
Next, inspect the full clip. Look for mouth movement that drifts away from the audio, unnatural pauses, or a portrait that stretches around the jaw. If the voice sounds too fast, rewrite the script with shorter sentences or use a calmer recording. A strong result depends as much on good speech as on visual animation.
Use a real-world script test
Before producing several clips, show the first draft to someone who has not seen the script. Ask them to explain the message in one sentence. If they cannot, revise the language before changing the portrait or the animation. Also ask whether the pace felt comfortable and whether any word sounded unnatural. This small test catches problems that are easy to miss when you already know what the video is supposed to say.
A second useful check is to play the audio alone. The introduction should still make sense without the image. Then view the video muted with captions. If both versions are understandable, the finished clip is more likely to work across different viewing conditions.
Design for the destination
For a lesson, end with a clear next action: “Open the worksheet and find the claim in paragraph one.” For a product introduction, name the single benefit you want the viewer to remember. For a personal greeting, keep the tone direct and avoid a long promotional close. The last line should feel like a natural end, not an abrupt cutoff.
Use a cover image that makes the function obvious: a clear portrait paired with a subtle audio waveform or caption cue. Keep the design simple so the image still reads at thumbnail size. The cover should signal “this person speaks” without promising an elaborate filmed scene.
If you are evaluating free talking photo AI options, check the current credits and export terms before producing a series. Test one concise script and one strong portrait first. A talking photo succeeds when the voice, facial motion, and message all support the same small purpose. That alignment matters more than adding extra animation to a weak script.